6 Handyman Skills Every Flipper Should Master

Dusty Rhodes • May 3, 2021

As a rehabber, there are some jobs that are worth knowing how to do. Relying on handymen to fix every small problem is expensive—and time-consuming. Why wait for your go-to person’s availability to open up for a tiny repair?


Or perhaps the job is too small to hire out, and you can’t find anyone who will do it. Most contractors don’t want to pick up tiny jobs. Not worth their time. Or maybe you ran out of money due to unforeseen problems. There are a number of reasons why simple repairs become suddenly (and surprisingly) not-so-simple… or just extremely expensive. That’s when it’s extremely handy to be extremely handy.


And don’t worry: Just because you’ve never picked up a hammer before doesn’t mean you can’t perfect these skills. Basic home maintenance is surprisingly simple, although it may look convoluted, complicated, or simply too-hard on first glance. No need to be muscled, either. Anyone can learn 101-level plumbing. Anyone can spackle a hole in the wall. You might even enjoy teaching your kids a few basic how-tos—you might find they enjoy painting walls or helping place tiling. (Maybe skip the electrical until they’re older, though.)


Whatever the case, here are six jobs that are worth knowing how to do. 


6 Handyman Skills Everyone Should Master


Whether you’re flipping or renting your properties—or just wanting to up your DIY skills for your own home—mastering these handyman jobs keeps everything running smoothly.


1. Painting


Everyone should be able to paint. Few supplies are needed—and even fewer skills. A paint roller, paint pan, and paint. Perhaps an extending handle if you are on the shorter end of the yardstick. You can paint the bulk of the wall first, then get the edges… or reverse that order, depending on your mood. Personally, I like to get the edges and corners first.


I choose not to use tape to block off edges. I learned how to “cut in” by watching videos on YouTube. (This one is my favorite.) Too many times, I would tape off the ceiling or edges, only to have the paint lift off when I removed the tape. It is really frustrating painting those edges again, and it doesn’t look nearly as good. The best way to learn how to cut in is to first watch the tutorial, then practice in the corners. They need to be painted anyway. Once you get the hand of it, painting goes really quickly.


Invest in a high-quality angled brush, about 2-1/2? wide. Smaller than that and you have to make too many trips to the paint bucket; larger than that and you start to lose control.


When the edges are done, get out your roller and start rolling. When rolling on textured walls, use a slow but steady movement. Going slower will allow the paint to settle into the deeper parts of the texture, reducing the number of coats you need to apply. A 10 x 10 room can be completed in just a couple of hours.


Pro tip: Buy quality paint. I purchased the cheapest paint I could find when painting my first house, and I ended up needing five coats to cover the color beneath. Fifteen dollars a gallon for the cheap stuff, but I needed five times as much as the high-quality, $30- to $50-a-gallon paint. Buying mis-tinted “oops” paint can save you a lot of money.


2. Basic electric


Chances are good that your new house comes complete with ugly light fixtures. Swapping them out isn’t a whole lot harder than changing light bulbs, and you certainly don’t need a contractors license to do so. Learn how to make these small changes yourself, rather than hiring an expensive electrician for a simple job. While I wouldn’t recommend a complete rewire job on your first try, updating lighting—or even installing a ceiling fan—can be done safely.


The library is full of books explaining how electrical works and outlining the how-to for any electricity-related odd jobs. YouTube is another great source of information. Even better than a book, you can find a step by step video tutorial that you can watch again and again.


I’m sure I’ll hear from the electricians on the site who will say that it is not something to be messed with. They’ve surely got stories about homeowners who burned down their houses doing their own electric. And I’m sure that has happened. So if you aren’t comfortable with doing this kind of work, have someone who is more experienced help you out.


3. Basic plumbing


Plumbers make a lot of money. Back when dinosaurs roamed the earth, plumbing was done with copper pipes, which had to be soldered together. This is definitely a skill I don’t recommend learning on the job. One mistake and the whole house is flooded.


But there is a new sheriff in the plumbing department, and he goes by the name of Sharkbite. I cannot tell you what sort of engineering magic goes into the Sharkbite fittings, but they have made copper pipe repair lightning fast. You literally take the pipe and shove it into the fitting. Turn the water back on and no leaks. It is ridiculous how easy it is. Of course, you will pay for the convenience—but still not as much as hiring a plumber.


Even better, supply lines can be plumbed with PEX (in most cities), which is far easier and cheaper than copper. PEX stands for cross-linked polyethylene. In reality, if your state allows you to use PEX, it stands for Preposterously Easy X…undertaking (nothing starts with an X). We re-plumbed our entire house using a book from the library and watching YouTube videos when we needed more instruction.


Sinks leak pretty darn often, and it’s not always because your tenants screwed up. Knowing how to handle runny faucets, a funky sprinkler system, or any other basic plumbing maintenance work will save time and money.
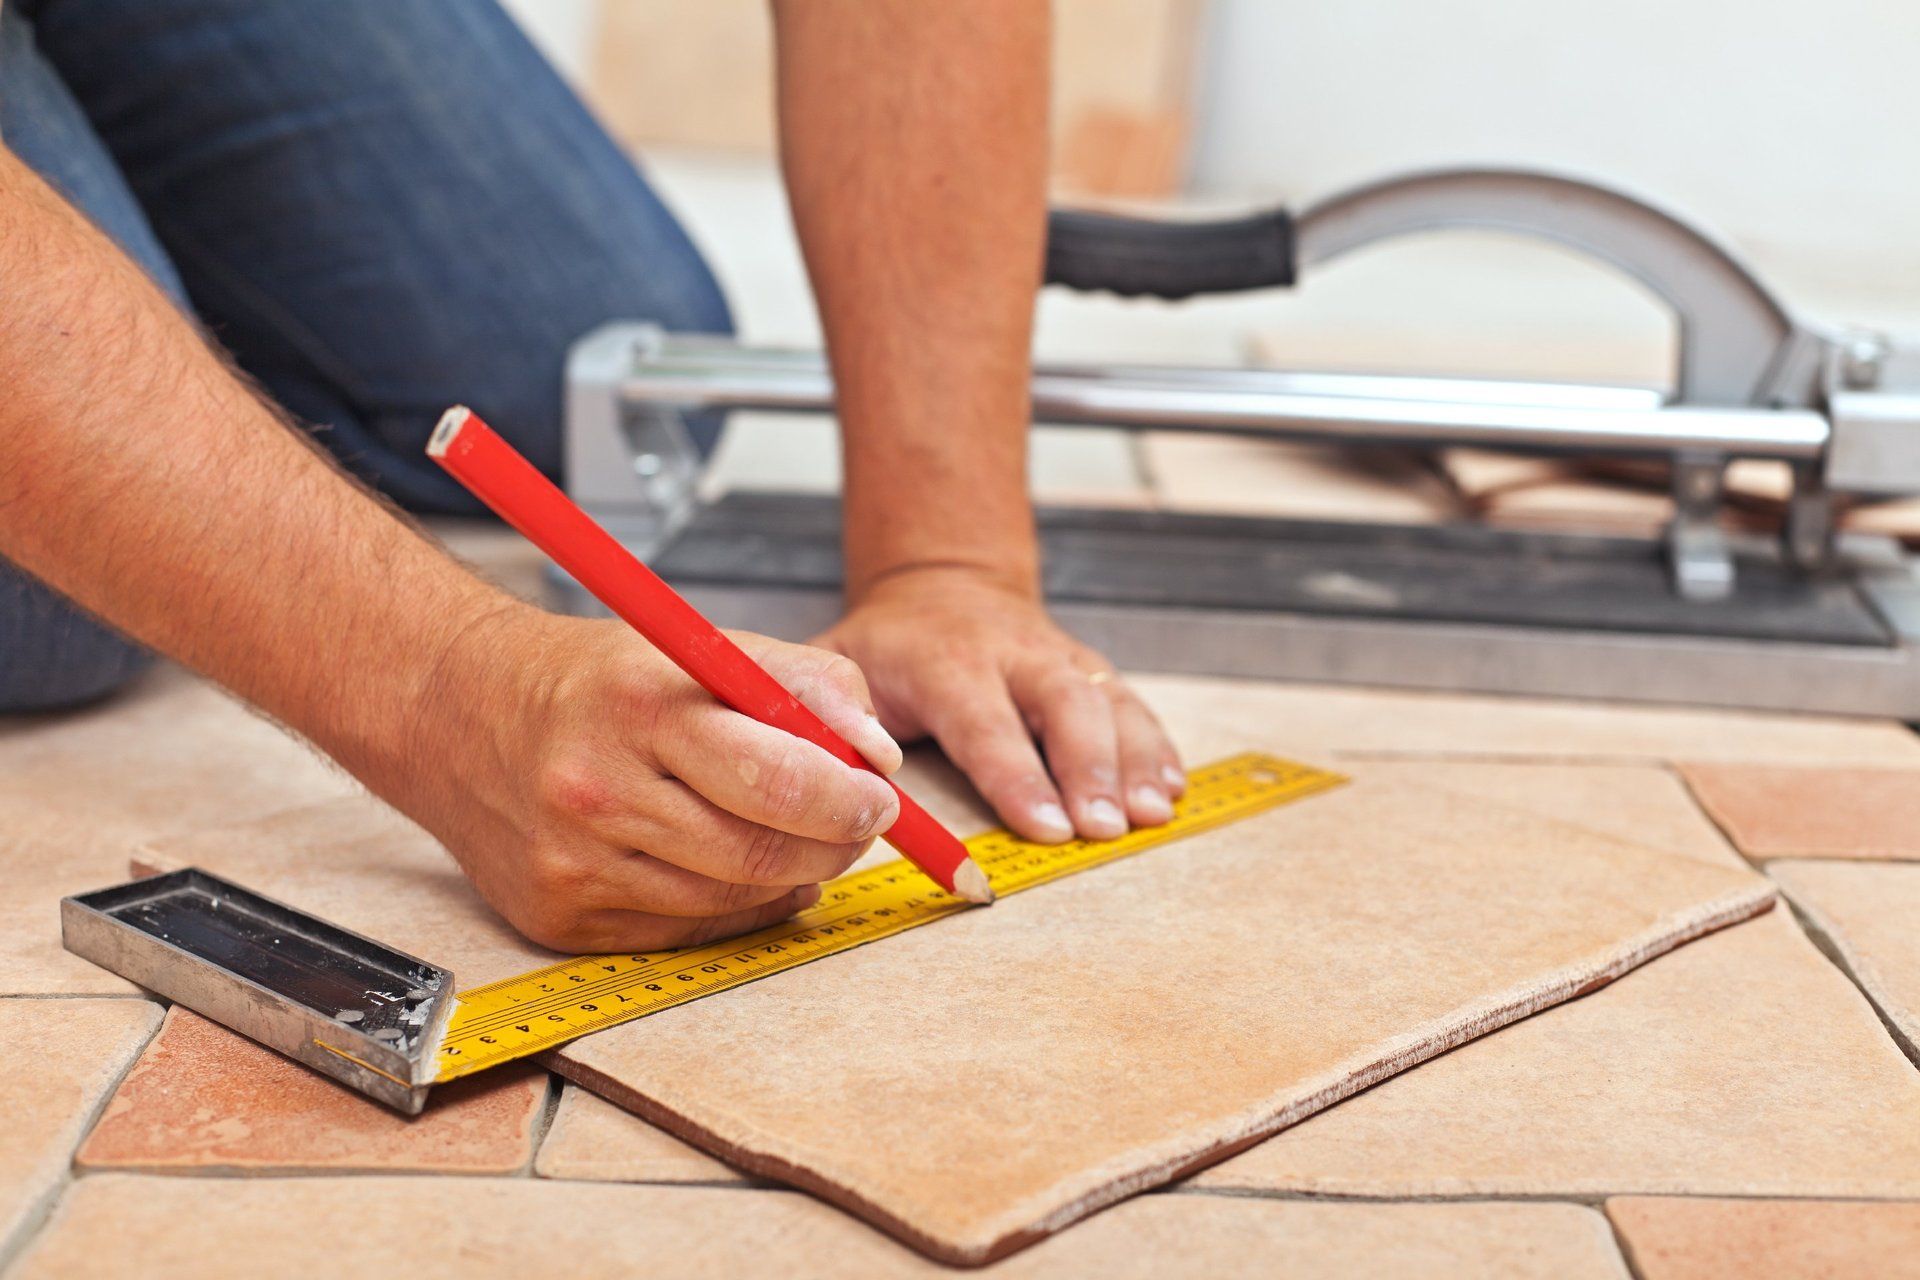

4. Tiling


Easily the skill that has benefited us the most is tiling—and it’s unbelievably simple to do. Lay mortar down, put the tile on top. There are nuances to this process, and I highly recommend watching several YouTube videos to see how it is done before you start in on your floor.


Many Home Depot and Lowe’s both offer free tiling classes about once a month. They let you learn with their supplies, showing you the right techniques. There is no limit to how many times you can take the class, either.


My advice: Take your time and use a level. Mix small batches of mortar at first, and don’t be afraid to throw some out if you can’t use it in time.


Additionally, I recommend buying a tile saw and learning how to use it. We paid $70 for our first saw about 10 years ago. Other than replacing the blade once, we haven’t had to do a thing to it. We have used it for more than 1,900 square feet of tile, including ceramic, glass, slate, and travertine.


5. Drywall repair


While hanging drywall from scratch can be an advanced-level DIY skill—bad results can be very obvious—every real estate investor should know how to do basic drywall repair. There’s absolutely no reason to pay your contractor money to repair a hole in the drywall left by an angry tenant (or a rambunctious kid, or a failed attempt at hanging a TV). Patching drywall is simple. And, as always, YouTube is happy to guide you in the right direction.


Keep spackle stocked for the small repairs. Once you know how to quickly patch a nail hole, there’s no need to panic about tenants hanging artwork against your wishes. Bigger holes take a bit more effort, but it’s nothing a handy DIYer can’t manage. You might have to cut out the drywall and go down to the stud in a small area. (Here’s a great Home Depot tutorial.) A saw, some drywall tape, and that ever-so-helpful spackle and you’re in business.
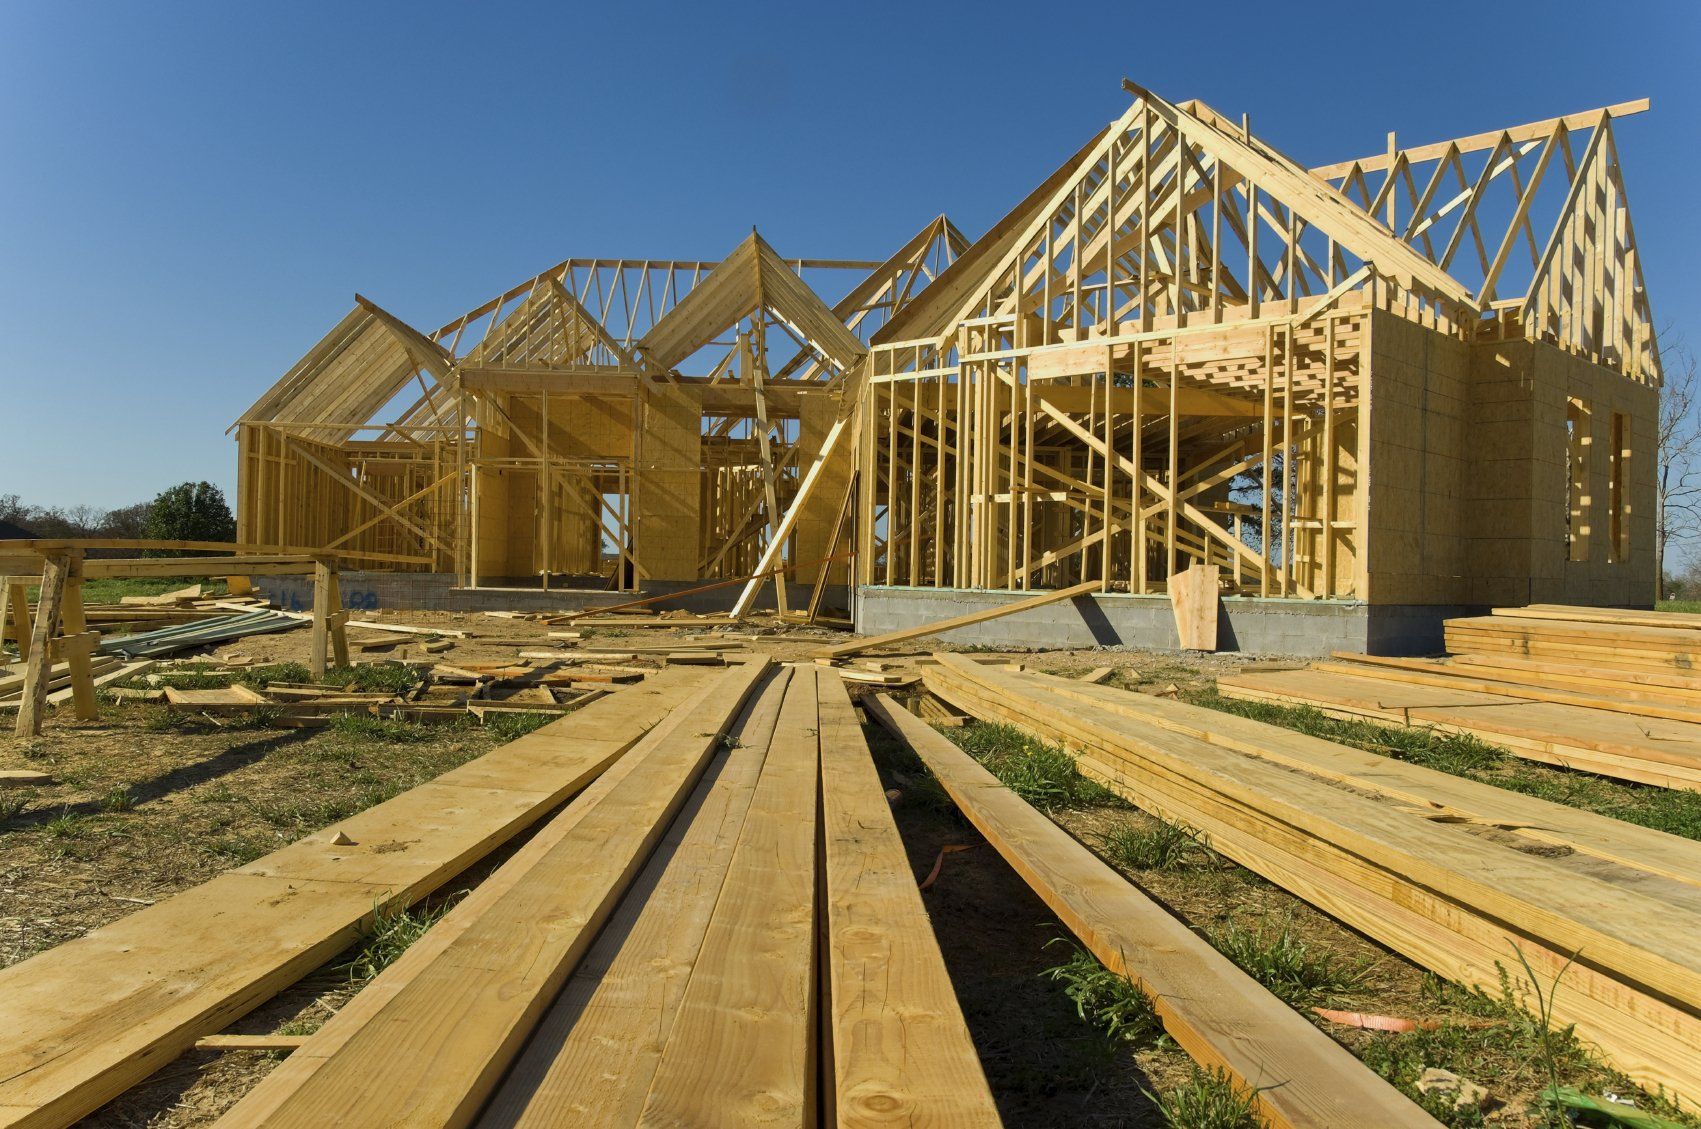

6. Simple carpentry


No one’s expecting you to create a to-order built-in shelving. But understanding the basics of woodworking will go a long way when you want to repair or update molding, attempt a DIY flooring installation or door installation, or patch rotting boards in your properties’ patios. Consider picking up a few basic tools, like a miter saw and a basic crosscut saw.


Plus, there’s a bonus to perfecting basic carpentry: Woodworking is an enjoyable hobby with lots of uses. If you find these simple repairs enjoyable, keep practicing. Soon enough, that built-in bookshelf might be no problem at all—you might even enjoy making furniture and building full decks.


Starting a career as a real estate investor certainly doesn’t require handyman training. Perfect these six easy trade skills, though, and you’ll be able to save significant money on one-time contractor fees. Is the stove misbehaving? Dining room chandelier flickering? Electrical training might help you identify the cause and make simple light repairs.


Source:   Bigger Pockets


Dusty Rhodes Properties is the Best Realtor in Myrtle Beach! We do everything in our power to help you find the home of your dreams. With experience, expertise, and passion, we are the perfect partner for you in Myrtle Beach, South Carolina. We love what we do and it shows. With more than 22 years of experience in the field, we know our industry like the back of our hands. There’s no challenge too big or too small, and we dedicate our utmost energy to every project we take on. We search thousands of the active and new listings from Aynor, Carolina Forest, Conway, Garden City Beach, Longs, Loris, Murrells Inlet, Myrtle Beach, North Myrtle Beach, Pawleys Island, and Surfside Beach real estate listings to find the hottest deals just for you!

Share

By Dusty Rhodes June 15, 2026
A few years ago, sellers could get away with saying “no” to just about everything. No repairs. No concessions. No negotiation. If buyers wanted the house, they pretty much had to take it on the seller’s terms. But now that inventory’s grown, negotiations are becoming a normal part of the process again. That’s why one of the most important things sellers need to understand right now is this: The goal isn’t to “win” every negotiation. Sometimes, it’s worth meeting buyers where they are to get a deal done, fast. One example? Helping with a buyer’s closing costs. Let’s break that down, so you know what to expect if it comes up in your sale. What Are Buyer Closing Costs? Closing costs are the extra expenses buyers pay on top of their down payment when they purchase a home. Freddie Mac gives some examples : Loan origination fees Appraisal and inspection costs Title and attorney fees Survey fees and more Typically, buyer closing costs range from about 2% to 5% of the home’s purchase price. So, on the typical $400,000 home, that could mean anywhere from $8,000 to $20,000 out of pocket. And in today’s affordability-challenged market, that upfront cash can be a major hurdle for some buyers – even if they can comfortably afford the monthly mortgage payment itself. That’s why more people are asking sellers for help. And More Sellers Are Saying “Yes” According to the latest data from Zillow , 67% of sellers reported paying some or all of the buyer’s closing costs in 2025 ( see chart below ):
By Dusty Rhodes June 8, 2026
When preparing to sell your home , the outside matters just as much as what’s inside. Learning how to stage your outdoor space to sell can help create a memorable first impression, boost curb appeal, and make buyers feel emotionally connected before they even walk through the front door. From refreshing landscaping to creating cozy gathering areas, thoughtful outdoor staging can help your home stand out in a competitive market. In this Redfin guide, we’ll share expert-backed tips for transforming your yard, patio, porch, or garden into a space buyers can easily picture themselves enjoying. Whether you’re preparing a bungalow in Boise, ID , or listing a modern home in Savannah, GA , these outdoor staging ideas can help sellers create inviting spaces that feel polished, functional, and move-in ready. Why outdoor staging matters when selling a home Outdoor staging helps buyers form an emotional connection with a home before they even step inside. A clean, inviting exterior can make a property feel more cared for, while thoughtfully designed outdoor spaces help buyers imagine themselves relaxing, entertaining, or spending time outside. In competitive markets especially, those details can help a listing stand out from similar homes nearby. “Staging allows buyers to see the potential of the space and aids realtors in securing high-investment buyers,” shares Julia, CEO of JP Urban Moving . “Staging is an aspect of the moving industry that customers generally don’t consider, but it’s vital and on the rise.” Outdoor staging can also help: Create a stronger first impression during showings. Highlight usable outdoor living areas like patios, porches, and backyards. Make the home feel move-in ready . Showcase the lifestyle the property offers , not just the structure itself. Help buyers remember the home after touring multiple listings. Focus on curb appeal first Curb appeal plays a major role in shaping a buyer’s first impression of a home. Before buyers notice updated interiors or spacious layouts, they’re already evaluating the condition of the yard, landscaping, and exterior maintenance. “Ensure your home is move-in ready by maximizing its curb appeal and value through thoughtful landscape design,” suggests Fel Quinn, Marketing Director at TerraVita Landscape & Gardening Inc. “Carefully consider how the trees, shrubs, and perennials add interest while keeping the space low-maintenance. Sometimes less is more – by prioritizing strategic planting and the overall health of your landscape, you can create a welcoming space that is both well-kept and inviting.” To improve curb appeal before listing your home: Trim overgrown trees and shrubs. Refresh mulch in flower beds and garden areas. Mow and edge the lawn regularly. Keep walkways, driveways, and entryways clean and clutter-free. Choose landscaping that looks attractive while remaining low-maintenance. Create outdoor spaces buyers can picture themselves using When staging an outdoor space , the goal is to help buyers imagine how they would actually live there. A cozy patio setup, welcoming front porch, or peaceful backyard can make the home feel like a retreat rather than just another property on the market. Buyers are often drawn to spaces that feel functional, relaxing, and easy to enjoy from day one. “Think about it: It’s Friday afternoon, you just got off a busy work week, you’re dreaming of how long until you escape to your home, that peaceful haven from the chaos,” says Justin Wilson of American Irrigation Repair . “When you’re selling your house, you’re not just selling just the structure, you’re selling a vision of how a buyer feels when they step on the property.” To create outdoor spaces buyers can connect with: Arrange simple seating areas on patios or decks. Add outdoor pillows or neutral decor for warmth. Incorporate planters or flowers for natural color. Keep pathways and gathering spaces open and uncluttered. Highlight features like fire pits, gardens, or dining areas. Use lighting to make the space feel inviting during evening showings. Less clutter, more function: Keep outdoor staging simple When staging outdoor areas, simplicity often has the biggest impact. Buyers want to see spaces that feel open, functional, and easy to maintain, rather than overcrowded with furniture, decorations, or excessive landscaping features. A clean and thoughtfully arranged yard allows buyers to focus on the home itself while still appreciating the outdoor lifestyle it offers. “When staging an outdoor space to sell, focus on making it feel clean, welcoming, and easy for buyers to picture themselves comfortably living in and using the space,” says Beth Wren of Copper Creek Landscaping . “The goal is to create an outdoor space that feels polished, functional, low-maintenance, and like a natural extension of the home.” To keep outdoor staging simple yet effective: Remove broken furniture , excess décor, and unused yard items. Define seating areas without overcrowding the space. Add fresh mulch and trim overgrown plants. Highlight one or two focal points , like a bird bath or statement planting. Don’t forget the emotional connection buyers feel outdoors Outdoor spaces often leave the strongest emotional impression during a home tour. Long after buyers forget square footage or listing details, they tend to remember how a home felt – especially in areas where they can imagine relaxing, gathering, or unwinding. A thoughtfully staged exterior helps turn a property into something more personal and memorable. At its core, outdoor staging is about selling a feeling as much as a space. Buyers respond to environments that feel peaceful, cared for, and inviting, where they can easily picture everyday moments unfolding. Key emotional drivers in outdoor staging include: A sense of calm and retreat from daily stress. The feeling of a “personal oasis” or private escape. Warmth and comfort created through greenery, lighting, and layout. Subtle signals that the home has been well cared for over time. Spaces that feel ready for connection , whether with family, friends, or nature. How to stage your outdoor space to sell successfully Staging your outdoor space is about more than improving curb appeal – it’s about helping buyers imagine the lifestyle your home offers. Small updates like fresh landscaping, defined seating areas, lighting, and thoughtful decor can make your property feel more welcoming, memorable, and move-in ready. By taking the time to stage your outdoor space to sell, you can create a strong first impression that helps your home stand out to potential buyers.
By Dusty Rhodes June 1, 2026
Buying a newly constructed home can come with a number of perks, one of them being a builder warranty. Now, the assumption is that the warranty means the builder will assume financial responsibility for anything that breaks . The truth is, while a builder warranty is issued to most new constructions, it covers a very specific list of features in and on the house. Understanding what is covered by this warranty and if you'll need a home warranty in addition to your insurance is an important step for first-time buyers of new-construction homes. Home warranty vs. builder warranty There are importants differences between a builder warranty and a home warranty . The primary difference is that a builder warranty covers new construction or a remodel by a builder. Most newly built homes come with a builder warranty. A home warranty applies to existing properties and covers appliances (like the oven, range, and garbage disposal) and household systems (like electrical, plumbing, heating, and cooling). And while a builder warranty is provided by the builder, a home warranty is purchased by the buyers. What’s covered and what’s not? The lifespan of a builder warranty depends on the specific features of the house. However, the typical builder warranty lasts six months to two years, with some lasting up to 10 years for "major structural defects" like an unsafe roof. While there are differences in warranties from builder to builder, in general, they should cover all of a home’s materials and workmanship. In most cases, that includes: Concrete foundations and floors Dry basement Clapboard and shingles Landscaping Carpentry Thermal and moisture cover Waterproofing Insulation Roofing and siding Doors and windows Glass Garage doors Paint Plumbing Electrical Heating and cooling Septic system Most builder warranties don't cover: Household appliances Defects resulting from work conducted by the homeowner or anyone else after the builder's work is completed Shrinkage and expansion of the house Normal fading of paint Shrinkage of joints/minor cracking Weather-related issues Dampness/condensation caused by failure of the homeowner to maintain adequate ventilation Insect damage Builder warranty essentials While a builder warranty is an “absolute must” if you're buying a new home, it shouldn't make you feel too comfortable, says Robert Pellegrini Jr. , Esq, president of PK Boston, a real estate law firm in Massachusetts . “A builder warranty can give a false sense of security to homebuyers, so you need to be careful.” You might assume something is covered that actually isn't. It’s up to you to ask your builder for the details of the warranty and, ideally, have an attorney look over the contract. “It's a significant negotiation—the builder wants to be responsible for essentially nothing, and it's in the buyer's best interest to have the builder on the hook for as much as possible.” Before you sign the contract, make sure you know not only what is and isn't covered, but also the length of the coverage. Pellegrini says you should also make sure you understand how to notify the builder should something go wrong during the warranty period. If you don't notify the builder in accordance with the contract terms, it could void the warranty. Some of the biggest disagreements arise when the cause is the issue, and the question is: "Was the damage due to neglect during building or to misuse by the homeowner?" For example, if a homeowner decides to clean his paintbrushes in his kitchen sink after he moved in, but doesn't realize that doing so will render the septic system inoperable, he will be liable for replacing it at his own expense. It’s not always cut and dried, though. “If homeowners act in good faith and work well with the builder, the builder is more apt to help you, even if it's not a warrantied item,” Pellegrini says. If the builder goes out of business, however, all bets are off. “In most cases, the buyer is out of luck,” he adds.  Bottom line? If you buy a new construction, make sure you get a builder warranty. But don't bank on that warranty covering everything that might go wrong with your home. While you should try to get as much coverage from your builder as possible, repairs and maintenance fees are all part of the homeowning game.