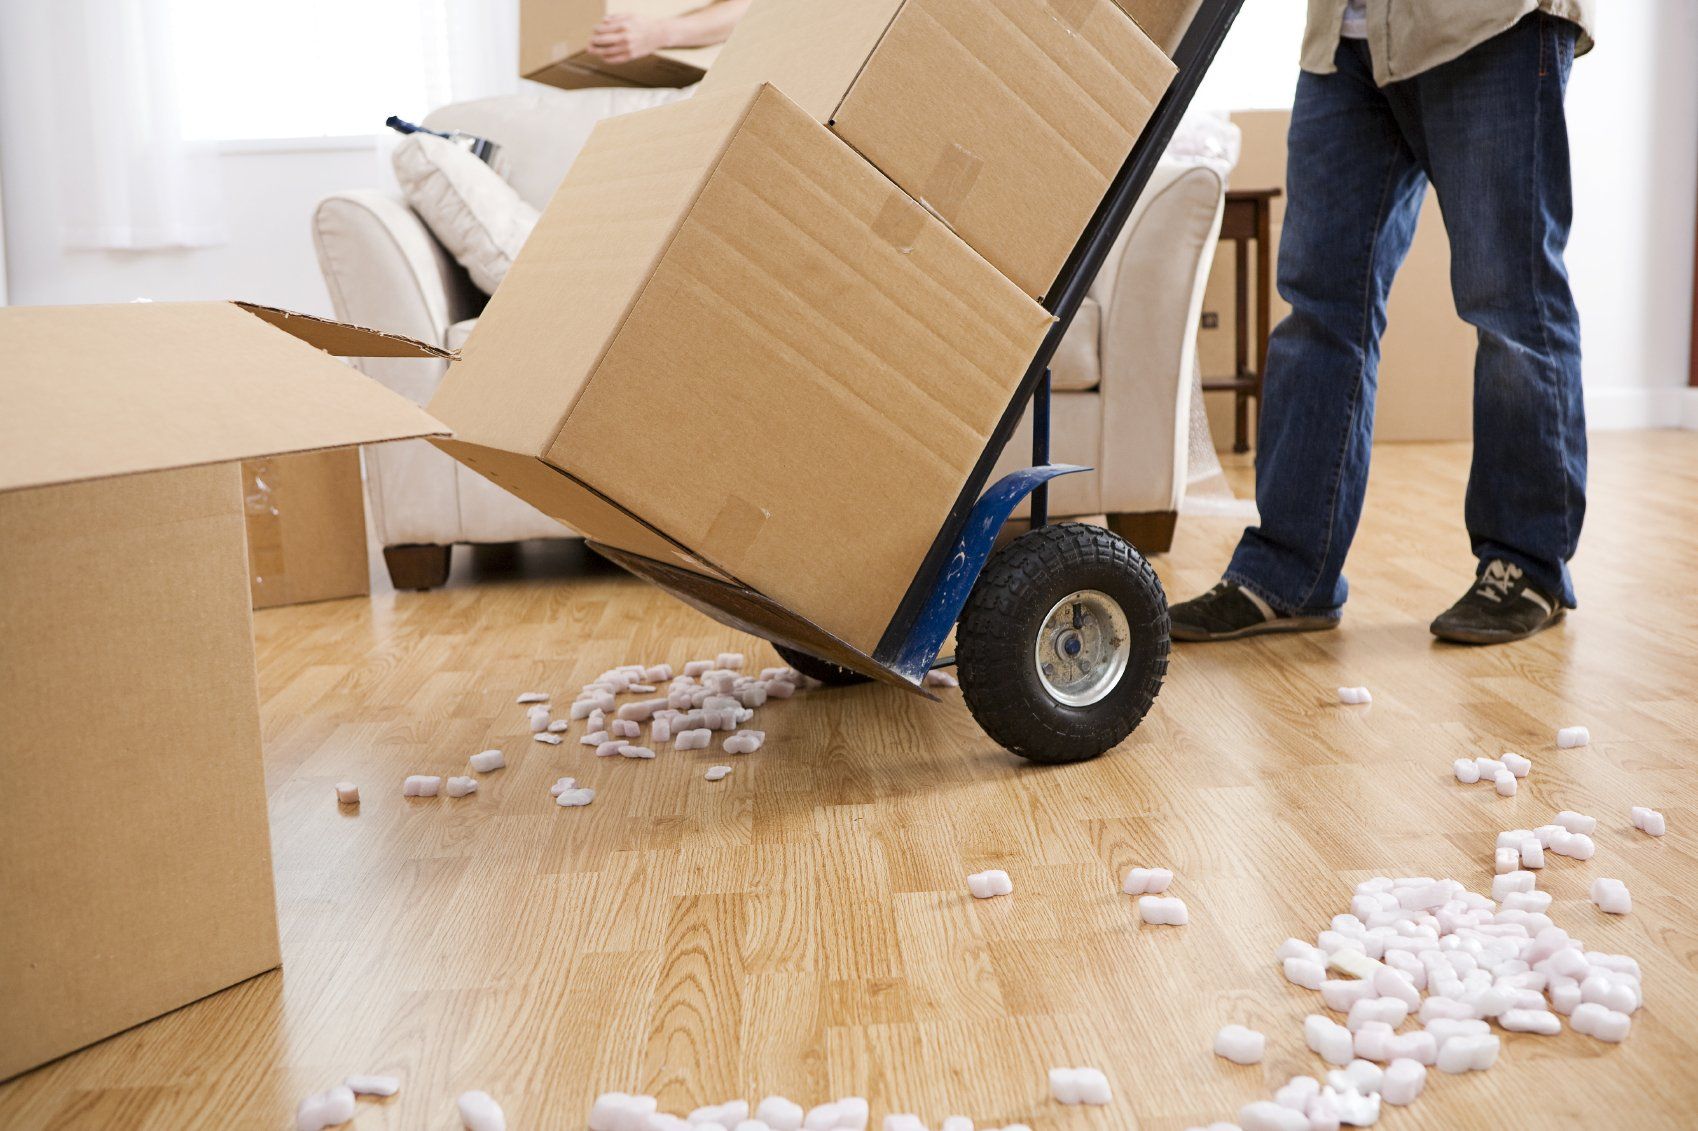
9 Ways to Downsize Before Moving

Dusty Rhodes • August 5, 2024

How to Make Moving into a Smaller Space Easy as Possible


You’re finally ready to move on to the next chapter of your life. Congratulations! Along with this well-earned breath of fresh air come a few things to consider, especially when you’re about to move into a smaller home. One of the best things about downsizing is that you get to customize the new space to your specifications.


It’s easy to become overwhelmed at first. Moving is one of the most emotionally draining and stressful events in life, with some people even likening the process to grieving. We highly suggest taking a deep breath. Allow yourself some time to embrace the change!


You’re free to choose how you want to move forward in the downsizing process, and that’s a powerful thing to have at your disposal. When you’re ready, we’re here to help. For now, here are some downsizing tips!


9 Ways to Downsize Before the Big Move


1. Plan ahead.


Before getting started, give yourself at least three months. While this seems like a bit much, having plenty of time before beginning your downsizing journey will allow you to approach the process at your leisure with a clear head. During this time, try to pinpoint why you’re downsizing in the first place and focus on that. No idea where to begin? Start here:

  • Less space will give you less to maintain in your home at the end of the day.
  • Less maintenance means more time spent doing things you enjoy (sometimes one of those things can involve doing absolutely nothing, which– let’s face it– can be incredibly cathartic in and of itself)!
  • With less living space, you’ll be able to travel more, read more books, enjoy friends and family, or get more sleep! The possibilities are endless.


2. Do one thing at a time.


When dealing with daunting tasks, the best advice we have is to take one small step after the other. You have likely lived in your current home for many years, collecting not only memories but family heirlooms that hold significant sentimental value. Take each item and allow yourself to reminisce. Does it still bring you happiness? Keep it! If not, someone else may find joy in it, so toss it in a donation box.


Are you thinking about passing down sentimental items like jewelry, books, framed photographs, and other memorabilia to loved ones? Then it’s a good idea to categorize them now and set them aside in labeled boxes so that they won’t spend time collecting dust after you move into your new home.


3. Discover your entrepreneurial spirit.


Use three months of prep time to get a head start! Gather items that are still good but no longer belong in your immediate future and start pricing them for a yard sale (start higher than you’d think– people tend to haggle prices down even if they’re already inexpensive).


Research when your city-wide garage sale takes place and participate in that, or take photos of leftover knick knacks, post them on online in places like Craigslist, and watch as the offers trickle in. Have a little patience with this process — there will be a lot of back-and-forth communication between you and folks bidding to purchase your items.


Keep in mind that you can also use Facebook Marketplace to give items away for free in “buy nothing” groups. People in need truly appreciate when you give away items in good condition in these groups.


4. Get help from friends and family.


Don’t think that you have to go it alone! Recruit family and friends to help sort items into “Keep,” “Donate,” “Sell,” and “Trash” piles. Bribe them with lunch or dinner! While everyone is over could also be an opportune time to distribute your heirlooms and things you want to pass along.


5. One man’s trash is another man’s treasure.


Once your donation boxes and bags start to fill up, take them directly to your car so that you can drive them to a consignment store or Goodwill as soon as possible. Don’t pile them in the garage to deal with later!


Relish the thought of giving back to the community. You’ll feel so much better about the clutter that’s magically gone after having dropped off your donatable goods. So much more room for activities!

6. Eliminate the unnecessary.


One of the most challenging ideas to become at peace with is throwing things away. You have to convince yourself that it truly is okay to toss something in the garbage, especially if it no longer has a place in the life you see yourself living in your new home. It’s okay to let go, we promise.

  • Tip: If you absolutely can’t let go of something, then consider renting a storage space or handing a belonging to a loved one. Someone you know may need an extra couch in their living room, or they may have free storage solutions in their garage or shed.


7. Get rid of the gray area.


As decluttering goes, you may have to be a little more callous when it comes to separating items into categories. We suggest only having “yes” or “no” piles and no “maybe”. Getting rid of things you’re on the fence about will be one less pile to consider, and your task will be that much quicker to accomplish. For example, if you have duplicates of items, that’s an easy “no” that you can toss into the donate bin.


8. Give yourself some grace.


At the end of the day, it’s okay to hold on to things as well. You could technically get rid of everything and start from scratch if you really wanted to. Some things can’t be replaced or easily discarded, and it is important to distinguish those from excess. Take a page from Marie Kondo’s book Spark Joy and keep only the things that make your heart the happiest. Good luck!


9. Stuck? Hire a professional organizer.


To make sure you don’t have excess belongings after unpacking into your new home, you can hire a professional organizer. These pros can help you downsize to the right number of belongings so that what you have fits in your new house. You’ll have more space and freedom, and perhaps even some wiggle room to get new items that suit your new dwelling.


Source: Marketplace Homes


Dusty Rhodes Properties is the Best Realtor in Myrtle Beach! We do everything in our power to help you find the home of your dreams. With experience, expertise, and passion, we are the perfect partner for you in Myrtle Beach, South Carolina. We love what we do and it shows. With more than 22 years of experience in the field, we know our industry like the back of our hands. There’s no challenge too big or too small, and we dedicate our utmost energy to every project we take on. We search thousands of the active and new listings from Aynor, Carolina Forest, Conway, Garden City Beach, Longs, Loris, Murrells Inlet, Myrtle Beach, North Myrtle Beach, Pawleys Island, and Surfside Beach real estate listings to find the hottest deals just for you!

Share

By Dusty Rhodes October 13, 2025
From the first coat of paint you used to freshen up your house’s trim to the stress of wrangling your way to a deal, you’ve been through a lot in that place. Now you’ve made it to the final hurdle of selling a home: moving out! Don’t worry, this is the easy part… but you want to do it right. Here’s how to get through the last leg of your journey without any bumps along the way. How to move out on time Once the paperwork is signed at closing, the buyers will officially own the house—and you won’t. That means that, technically, if you or your stuff is still there after the close, “the buyer could evict you,” says Joshua Jarvis , founder of Jarvis Team Realty in Duluth, GA. So make sure to have your exit strategy in place! Still, most buyers will understand if you need a bit more time and have a legitimate reason—like if you can’t move until the weekend due to your work schedule. Just be sure to discuss these issues as soon as possible before the close, so your buyers can plan accordingly. Decide what to leave behind To make sure you’re leaving behind everything the buyer wanted—and that you agreed to—double-check the closing documents . There should be an itemized list of what comes with the house . And even if the buyers didn’t formally request them, it’s just good form to leave certain types of things behind. Such as? “Generally speaking, you should leave anything that’s bolted to the wall,” says Jarvis. “Some homeowners want to take their fans and blinds to the next home, but generally if it’s screwed in, it stays.” Also, if you and the buyers agreed to transfer any services—such as alarm monitoring or pest control —be sure to set that up before you go. Leave the buyers a detailed note in the house, or ask your agent to get in touch with theirs to make sure the transfer goes smoothly. If you do inadvertently take an item that the buyers had requested, they have the right to ask for it back—and they could potentially sue you in civil court for the cost of a replacement. So, when in doubt, feel free to check with the buyers before you grab and go. But don’t leave anything else behind Just as important as what you leave behind is what you don’t. Your buyers have a right to move into a home that’s been cleared of furniture and other movable items they didn’t expressly request. “Some folks leave all kinds of unwanted clothes, furniture, paint cans, and other items, thinking they are helping the buyers,” Jarvis says. If you truly think your buyers might love to have your old planting pots or kiddie equipment, go ahead and ask—but please don’t assume they’ll welcome your leftovers. Even if you’re careful, you might forget something—at which point the buyers may contact their agent to get it back to you, but they also have the legal right to just keep or get rid of it. So double-check areas (e.g., the attic, garage, basement, storage shed, kitchen, and bathroom drawers) where people commonly overlook items. Clean up It’s common courtesy to leave the place not only clear of your possessions but also clean. However, that doesn’t mean you have to leave it immaculate. “Generally, you shouldn’t have to pay to have it deep cleaned,” Jarvis says. In most cases, a simple broom-clean will do. That means wiping down the countertops, cleaning out drawers, sweeping or vacuuming all the floors, and giving the bathroom and kitchen appliances a once-over so the new owners aren’t grossed out when they arrive. Are you forgetting anything? Before you close the door for the last time, run through a quick checklist. Did you eyeball every room for stray items? Have you forwarded your mail and turned off the utilities? Is the water running in the jacuzzi? We all get in a bit of a rush even in the best planned moves, but you won’t be able to get back in, so it can’t hurt to do a final run-through before you move out. Once you’re ready, it’s time to leave. You can drop a line to your real estate agent to let them know you’re out, although it’s usually a courtesy more than a necessity. If you’re feeling truly gracious, feel free to leave a note, card, or bottle of bubbly congratulating the people who’ve inherited your former home. Given all the fond memories you’ve built between those walls, wouldn’t it be nice to start the home’s new owners off on the right foot? And buy yourself some Champagne, too. Make it the good stuff—you’ve earned it. 
By Dusty Rhodes October 6, 2025
Buying a home is an exciting time, whether this is your first time purchasing a house or you’re a repeat buyer. But if you’ve owned a home before, you may be wondering if you can be a first-time home buyer again. In some cases, yes, you can. In this Redfin article, we’ll go over what qualifications you need to meet and when you can be considered a first-time homebuyer again. Whether you’re buying a home in Atlanta, GA , or a condo in Portland, OR , read on to find out if you’re eligible to be a first-time homebuyer twice. Key takeaways Usually, you’re a first-time homebuyer again if you haven’t owned a home in 3 years. Some special situations may also qualify you as a first-time buyer. Benefits include down payment and closing cost assistance and lower interest rates. When are you considered a first-time homebuyer again? Typically, you’re considered a first-time homebuyer again if you have not owned a primary residence for at least three years. There are several additional reasons you may qualify as a first-time homebuyer again, which we’ll explore below. Some first-time homebuyer programs have different definitions of “first-time homebuyer,” so check with the specific program before proceeding. Qualifications to be considered a first-time homebuyer There are other reasons you may qualify as a first-time homebuyer twice. Let’s take a look at them: You haven’t owned a primary residence for 3 years: This means if you owned a home, but sold it and rented for 3 (or more) years, you can be considered a first-time home buyer again. If you’re buying with another person, only one of you needs to meet the criteria to use most first-time home buyer programs. You’re a single-parent buying on your own: If you’ve never purchased a home by yourself and are a divorced single-parent, you may qualify again. Even if you purchased a home with your former spouse, you likely still meet the criteria. You’re a displaced homemaker/family caregiver: If you are a displaced homemaker who doesn’t or didn’t earn wages from employment and has only owned a home with a former spouse, you’re likely considered a first-time homebuyer. You previously owned a mobile home: If you owned a mobile home or property not affixed to a foundation, then you likely qualify. Your previous home was out of compliance: If your home had building code violations or safety issues that could not be repaired or brought into compliance for less than the home’s value, you’re likely eligible. Benefits of being a first-time homebuyer again There are benefits to being a first-time homebuyer twice. Let’s take a look at them: Access to first-time homebuyer programs: One of the biggest benefits is the ability to use first-time homebuyer programs such as down payment and closing cost assistance , grants, credits, or loans. Every program has different qualifications, so make sure to research each program or speak with your agent and lender to explore options. Options for low down payment mortgages: There are several loans available for first-time buyers that offer lower down payment amounts. For example, Freddie Mac’s Home Possible and Fannie Mae’s Home Ready offer down payment amounts as low as 3%. Potentially lower mortgage rates: Sometimes, lenders will offer slightly lower mortgage rates to first-time borrowers to help them buy their first home. FAQs about first-time homebuyers Can I be a first-time homebuyer again if I previously owned a home? Yes, as long as you haven’t owned a primary residence in the last 3 years, or you owned a home while previously married. Do both homebuyers need to be first-time homebuyers to qualify? No, in most cases, as long as one homebuyer meets the qualifying criteria, then you’re considered a first-time homebuyer. However, some programs require both homebuyers to be first-timers. Can I qualify for a first-time homebuyer loan again? Yes, for the most part, if you qualify as a “first-time homebuyer,” you can get another first-time homebuyer loan. Every lender and loan is different, so be sure to read the eligibility criteria thoroughly. Are there income limits for programs? Yes, many first-time homebuyer programs have income limits. This means you won’t qualify if you make more than the specified annual amount.
By Dusty Rhodes September 29, 2025
Enhancing your living space doesn’t always require a hefty budget. With the right updates, you can add real value to your home for under $1,000. Whether you’re preparing to sell your home in Grand Rapids, MI , or looking for some easy DIY projects for your house in Portland, OR , these cost-effective upgrades can breathe new life into your space. To dig deeper into this topic, we spoke with Kevin Brasler, executive editor at nonprofit Consumers’ Checkbook , a consumer advocacy group that helps homeowners save money and make smart choices. With decades of experience evaluating service providers, Kevin shares insights on how to budget wisely, avoid common renovation mistakes, and know when to hire a professional versus taking the DIY route. 1. Add fresh paint to the walls of your home Painting is one of the most affordable ways to refresh your home. A gallon of quality paint costs $30 to $50, with a full room averaging around $350 . Neutral shades like gray, beige, or white appeal to most buyers, while accent colors such as navy, forest green, or mustard add personality. For a calming vibe, try sage or powder blue. Brasler notes that painting is one of the best DIY-friendly projects homeowners can take on. “Good DIY projects are those that involve mostly labor: painting, basic tile work, installing fixtures that don’t require new wiring or plumbing, landscaping, and most flooring jobs,” he says. 2. Update your cabinet hardware A cabinet hardware update is a subtle yet effective strategy to elevate your home’s functionality and aesthetic appeal. Swapping outdated or generic cabinet handles and knobs for modern, stylish alternatives instantly transforms kitchens and bathrooms. Consider sleek brushed nickel handles for a contemporary touch, or opt for vintage-inspired brass knobs for a timeless charm. This modest investment typically costs between $2 to $10 per piece. 3. Change the kitchen backsplash A new backsplash can quickly refresh your kitchen while protecting your walls. A custom kitchen backsplash protects your walls from daily wear and creates a focal point that elevates the entire room. Opt for affordable ceramic or glass tiles, which can be found for as low as $1 to $5 per square foot. Staying within a $1,000 budget for a standard-sized kitchen is doable with those materials. Or you can go for a peel-and-stick backsplash that is not only budget-friendly, but a quick solution to make your kitchen stand out. Brasler stresses that getting multiple estimates is critical for even small-scale projects like this. “The biggest mistake homeowners make is not getting multiple bids. Even for smaller projects, you should get at least three written estimates; five is better,” he explains. 4. Switch to energy-efficient lighting By making the switch to energy-efficient lighting, you’ll not only improve the sustainability of your home but also create a more comfortable and inviting living environment. Switching to LED bulbs, which typically cost between $2 to $10 each, saves energy and reduces utility bills over time. Beyond the financial benefits, the crisp and vibrant illumination of energy-efficient lighting can effortlessly enhance your home’s overall mood and appeal. 5. Create a beautiful landscape A simple landscaping update is another low-cost project that adds value. Try planting vibrant flowers, shrubs, and trees, which can cost anywhere from $100 to $500, depending on the size and variety. Add mulch or decorative stones to create a polished look for approximately $50 to $150, while adding affordable outdoor lighting options typically range from $50 to $200. Low-maintenance features lower costs down while still making a strong impression. For most landscaping updates, DIY is both practical and cost-effective. Still, Brasler advises calling in professionals for anything involving gas, high-voltage electrical, or structural work. 6. Install a smart thermostat A smart thermostat, such as popular models like Nest or Ecobee, typically costs between $150 to $300, depending on the brand and features. Homeowners can often handle the installation themselves, avoiding additional labor costs. Once installed, these intelligent devices learn your preferences, allowing for automated temperature adjustments, and can be controlled remotely via smartphone apps. 7. Refurbish or paint the front door Refresh your curb appeal by refurbishing or painting the front door – a low-cost project with instant impact. Sanding and restaining often costs under $100 and requires just a few materials. Another choice is to use high-quality exterior paint, which typically ranges from $30 to $50 per gallon, providing a fresh, vibrant color that suits your home’s style. 8. Add floating shelves or built-ins Consider adding floating shelves or built-in storage solutions to maximize space and keep your home organized. Floating shelves, available for as little as $20 to $50 per shelf, provide an affordable and stylish way to showcase decor or organize essentials. For a more customized approach, DIY built-ins can be crafted using plywood or ready-to-assemble shelving units, typically ranging from $100 to $300. 9. Upgrade your kitchen sink and faucet Breathe new life into your kitchen with a sink and faucet upgrade. Faucets usually run $100 to $300, and sinks $200 to $500. Consider a sleek pull-down faucet and a resilient stainless steel or granite composite sink to improve both function and style. Spending $300 to $800 on a sink and faucet upgrade can instantly refresh your kitchen’s look and make daily tasks easier. 10. Add safety measures to protect your home Smart security cameras or a basic surveillance system now offer affordable and effective protection. Investing in a home surveillance system, typically from $200 to $500, allows real-time monitoring and deterrence against potential threats. The addition of smart cameras, with features like motion detection and remote access via smartphone apps, can improve your home’s overall safety and convenience. With a budget-conscious investment of $500 to $1,000, you can create a comprehensive security network covering critical areas of your property. Tips for finding good contractors Even for smaller projects, working with contractors requires careful planning. Brasler emphasizes the value of comparison shopping. “Get proposals and detailed pricing from at least three reputable, licensed contractors,” he advises. “The only way to ensure you’re paying a fair price is to initiate competition.” He also suggests: Check references thoroughly. Ask questions like: Did the company follow plans? Did it finish on time? Was the work professional? Did the contractor offer low-cost solutions and stick to agreed prices? Were problems handled promptly and effectively? Did the team communicate clearly throughout the project? Was disruption to your daily life kept to a minimum? Did the finished results meet your expectations for quality and appearance? Was the contractor flexible and fair about changes if you adjusted plans? Ask neighbors and friends for referrals. Word-of-mouth often uncovers the best local contractors. Look for complaints. Check ratings at Checkbook.org or your local Better Business Bureau and be cautious with online reviews as they can’t always be trusted. Common mistakes when budgeting for small renovations Brasler states the biggest budgeting mistake is skipping multiple bids. “A contractor charging $800 might be using premium materials while the $500 bid uses builder-grade stuff. Try to get prices from each business for the exact same work,” he explains. He also reminds homeowners not to assume that a low price means low quality. “For decades we have evaluated all kinds of businesses and often find some of the best companies have the lowest prices,” he says. When to DIY vs. hire a pro While DIY saves money, Brasler stresses knowing your limits. “Call in pros to deal with anything involving gas, high-voltage electrical, or structural changes. Ditto for work that requires a permit and inspection,” he advises. For tasks like painting, basic landscaping, or adding shelves, homeowners can usually manage on their own. Keep expectations realistic since DIY projects often take longer and may not match professional results. The bottom line Budget-friendly renovations under $1,000 can make a big difference in your home’s look, comfort, and value. From painting and landscaping to updating fixtures and adding smart technology, these projects prove you don’t need to overspend to refresh your space. As Brasler reminds homeowners, “the key is balancing creativity with caution.” By comparing bids, avoiding common budgeting mistakes, and knowing when to call in the pros, you can achieve lasting results without stretching your wallet.