Flipping Houses: The 6 Most Important Calculations When Assessing a Fix & Flip

Dusty Rhodes • August 17, 2020

TV stars make the flipping process look easy. Sure, they may have to replace an entire HVAC system last-minute, but they always walk away with happy buyers and tens of thousands of dollars in their pockets.


Is that really how flipping goes?


Not all investors agree that flipping is the best process for investing in a house. Others prefer the buy and hold model or the BRRRR strategy. The “right” choice will depend on the home’s value, how much you can afford in holding costs, and what repairs are necessary to flip the property.


No investor should flip a house without looking closely at the associated costs. The estimated total will always seem lower if you forget to factor in the little expenses that slowly eat away at your profit. Don’t leave any costs up to chance.


The six most important calculations you will need when assessing a flip include:


  1. Current cost of the home
  2. ARV (after repair value)
  3. Projected repair costs
  4. Closing costs
  5. Financing costs
  6. Other monthly expenses


How Much Does It Cost to Flip a House?


Dive deep into the aforementioned six areas to calculate as accurate an estimate as possible. That way, you can invest confidently in properties where the numbers make sense.

Surprise repairs or sitting on the market could mean the difference between a good investment and a bad one. Prepare yourself appropriately to walk away from your flip with a stuffed wallet.


1. Current Cost of the Home


This is obvious. How much are you going to have to pay up front in order to get this flip started? Know that this cost will also have an impact on other calculations, like closing costs and financing costs.


2. ARV (After Repair Value)


The ARV will determine whether or not all of your repairs are worth the time and money. Investors calculate a home’s after repair value to estimate what they will walk away with when they finally sell the flip to the new homeowner.


Estimating a home’s ARV may require some research and planning. What repairs will add value to the home? Where is the home located? How will it compete with similar homes in the market?


Take a look around the neighborhood and consider similar properties when assessing your home’s ARV. This analysis can also be a good predictor of how long a house might stay on the market. It suggests the direction that home prices are moving, too.


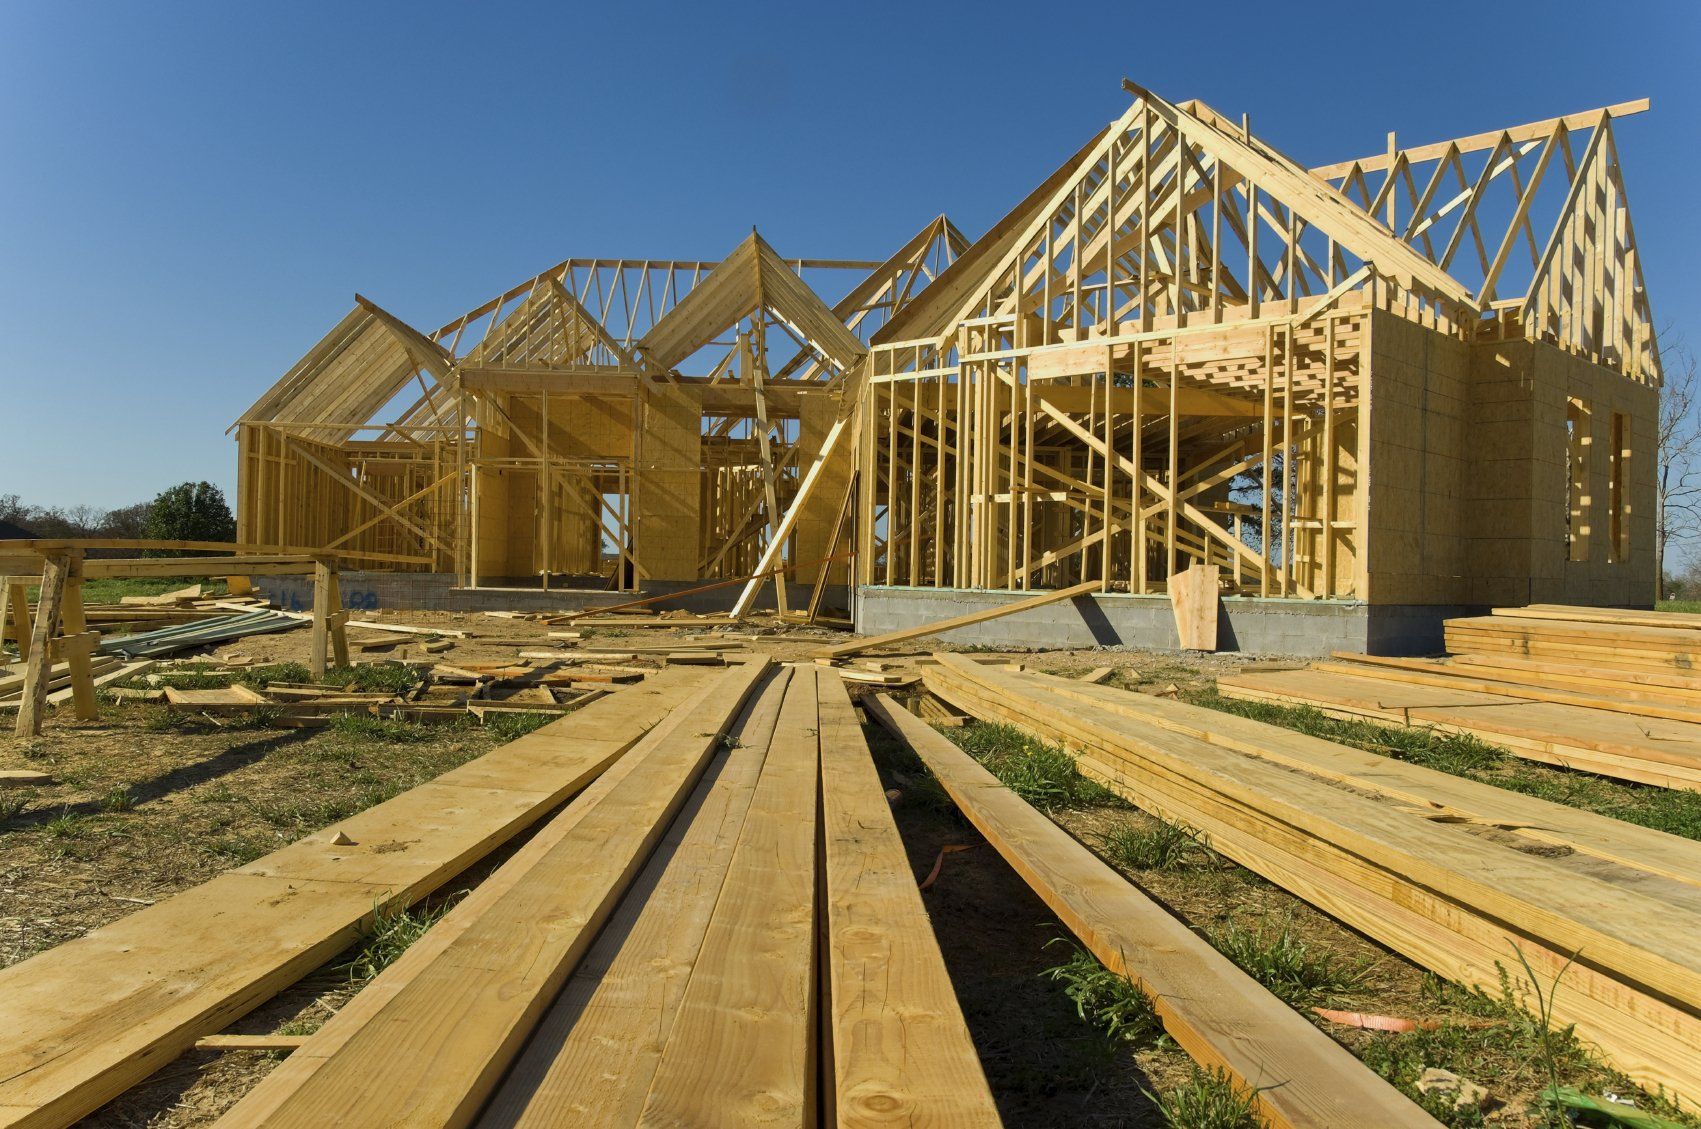
3. Projected Repair Costs


You won’t reach your target ARV until you make the right repairs on your flip. But how much are these repairs going to cost?


There is no one answer. Every house has different needs based on its square footage, when it was built, and how it was maintained by previous owners. Flippers could have to replace an entire HVAC system just to get the building up to code, or the house may just need some fresh flooring and paint.

The more thoroughly you assess these costs, the fewer surprises you will face when it’s time to flip. (It’s not an episode of an HGTV show unless it has one big surprise repair to keep viewers hooked.)


BiggerPockets has a Rehab Estimator Calculator to help fix and flippers assess necessary repairs. Before you buy, consider which repairs must be done:


  • Roof and gutter maintenance/replacement
  • Exterior carpentry (siding, windows, doors, deck, and/or porch)
  • Landscaping
  • Septic repairs
  • Electrical, plumbing, HVAC maintenance or replacement
  • Flooring and drywall replacement/cleaning
  • Appliance replacement


These are just some of the repairs you may face when flipping a home. Bring a comprehensive checklist when walking through a home to thoroughly assess the work that needs to be done and how much these repairs could cost.


4. Closing Costs


Flippers will need to buy and sell their property, going through the closing process twice. Buyers typically don't have to factor in a high number for closing costs, but negotiations could always change the game. Sellers often foot the bill for agent fees, concessions, or title fees. These costs could reach up to 10 percent of the sales prices, so don't forget to factor them in when assessing the flip.


5. Financing Costs


Unless you have cash to play with, you're going to need to get a loan for your flip. The more you sit on the flip, the more interest your loan will accrue. Consider the costs of getting the loan—and paying it back.

6. Other Monthly Expenses


Even if you don’t anticipate owning the home for more than a few months, you’ll still have expenses to pay as a homeowner.


Here are a few:

  • Utilities
  • Property taxes
  • Insurance
  • HOA fees
  • Landscaping maintenance


Keep these costs in mind as motivation to sell quickly. The longer you sit on a flip, the more you will have to pay in electric bills and property taxes.


Don’t Just Rely on One Calculator


There are plenty of online tools to estimate a flip’s potential profitability. In fact, BiggerPockets has seven different calculators for assessing a flip, including a Fix and Flip Calculator and Rehab Estimator Calculator.


A single calculator is unlikely to provide a definite answer on whether your flip is a good investment or not. Consider multiple scenarios and look to different resources before making a decision.


The difference between a good or bad flip could be one simple oversight. Consult with real estate investment experts about anything you'd like clarified or double-checked.


Source:   BiggerPockets


Dusty Rhodes Properties is the Best Realtor in Myrtle Beach! We do everything in our power to help you find the home of your dreams. With experience, expertise, and passion, we are the perfect partner for you in Myrtle Beach, South Carolina. We love what we do and it shows. With more than 22 years of experience in the field, we know our industry like the back of our hands. There’s no challenge too big or too small, and we dedicate our utmost energy to every project we take on. We search thousands of the active and new listings from Aynor, Carolina Forest, Conway, Garden City Beach, Longs, Loris, Murrells Inlet, Myrtle Beach, North Myrtle Beach, Pawleys Island, and Surfside Beach real estate listings to find the hottest deals just for you!

Share

By Dusty Rhodes April 20, 2026
Be honest. Have you started looking at homes online yet? If you have, it’s already time to get pre-approved . Because here’s what not enough people know. If buying a home is on your radar – even if it’s more of a someday plan than a right now plan – you don’t want to wait until later on in the process to tackle this step. No matter what you’ve heard, pre-approval isn’t about commitment . It’s about clarity . And here are the two big ways pre-approval sets you up for success. You Know Your Numbers Up Front During the pre-approval process, a lender will walk through your finances and tell you what you can borrow based on your income, debts, credit score , and more. And once you have that number, your search becomes a lot more focused. With a mortgage pre-approval, you know what you can borrow, so it’s easier to figure out your ideal price point, and what you can actually afford. And that clarity is key. Because if you just start browsing online and just guess at your price point, you run the risk of falling for a house that’s outside of your price range – or missing out on ones that aren’t. You want this number to be clearly defined before your search. Here’s why. You Can Move Quickly When You Find the One This is how a lot of home searches go today. You scroll through listings just to see what’s out there, and then it happens. You fall in love with something you’ve seen online. If you’re already pre-approved? You’re probably in great shape. But if you’re not… Instead of being able to jump on that house and quickly make an offer, you have to scramble to get a lender, gather the financial documents, and then submit the necessary pre-approval paperwork first. And while you’re waiting to hear back from your lender, someone else who’s more prepared could beat you to the house. As Bankrate explains: “The best time to get a mortgage preapproval is before you start looking for a home. If you find a home you love but don’t have a preapproval in hand, you likely won’t have time to get preapproved before you need to make an offer...” And that’s avoidable, with the right prep. Because while you can’t control when the right home shows up, you can be ready for it. Think of it like showing up to the starting line with your shoes tied and your warm-up done – while everyone else is still looking for parking. It’s not about rushing your timeline. It’s about removing the delay between finding the right home and being able to move on it. One Thing You Need To Know About Pre-Approvals Speaking of timing, pre-approvals do have an expiration date. So, be sure to ask your lender how long it’s good for. The Mortgage Reports explains: “ Mortgage preapproval letters are typically valid for anywhere from 30 to 90 days. However, a preapproval can be updated and extended if the lender re-checks your information.” Doing the right prep and knowing this information can make the whole process a lot smoother. You don’t have to be ready to buy to be ready to buy. Getting pre-approved doesn’t mean you’re committing to buy right now. It just means you’ve taken a step to understand your numbers. And when a home catches your attention, you’re prepped and good to go. Bottom Line Ask yourself this: if your perfect home popped up tomorrow, would you be ready to make a move? If the answer is no and you want to buy, it may be time to get pre-approved. You don’t feel behind before your search even officially kicks off.
By Dusty Rhodes April 13, 2026
Tired of an untidy house? Try a new approach by adopting habits that automatically keep your home orderly Keeping our homes orderly and free of clutter is a struggle for many of us, especially if we’re not naturally organized . If you fall into this category, there’s definitely hope — you just may need to change your habits. Before you roll your eyes and shrug off that idea as impossible, let me tell you what has helped me keep a tidier home. I tried a concept called the “habit loop,” which is described in The Power of Habit: Why We Do What We Do in Life and Business, the best-selling book by Charles Duhigg. The habit loop consists of three steps: cue, routine and reward. The cue is a reminder that initiates the new behavior. The routine is the behavior itself. The reward is the benefit you get from implementing the new behavior. Duhigg says that during the first two weeks of developing a new habit, it’s important to give yourself a treat that you really enjoy right after you complete the new behavior. This will teach your brain to enjoy the new routine. While I’m a professional organizer and really do enjoy decluttering and organizing, I also have an extremely busy life and like to do a lot of other things besides organizing my house. Using the habit loop really helped me get into daily, automatic tidying habits. Perhaps this approach could offer a fresh, effective way for you too to conquer clutter in your home. Here’s how I use it. Tackle Your Own Spaces First If you want to form new no-clutter habits, it’s usually easiest to begin by dealing with your own possessions in spaces you don’t share with all family members. Personally, I live with some wonderful but messy people, so if you’re in the same situation, I recommend you start with your bedroom and bathroom. Duhigg says there’s no precise time frame for how long it takes to form a new habit, but other researchers report it takes 21 to 66 days or even longer. Personally, I needed 21 to 45 days of the habit loop to form a new habit, depending on what the routine was. After that, the behavior became automatic. 1. Make your bed. No matter how messy the bedroom is, a made bed makes it neater. To create a cue for making the bed, pick something you do without fail every day, such as turning off your alarm. It’s best to do the new behavior as soon as possible after the reminder. (I sometimes get distracted if I don’t make my bed right after my cue, and then the bed might remain unmade all day.) After you make the bed — or, for that matter, after you do any new task you’re trying to make habitual — be sure to reward yourself. Your reward can be as simple as a silent “Good job!” you tell yourself or as ritualistic as brewing your morning cup of coffee and then enjoying sipping it. Just remember to give yourself a compliment or perk for working toward your tidy-house goal. 2. Clear your bathroom counters. Brushing my teeth has become the cue I use to trigger my habit of clearing my bathroom counters both morning and night. Each morning after I brush, I put away my makeup, hair products, blow dryer and toothpaste. Then I wipe off the water that has collected on the countertops. I repeat the routine at night, putting away my lotion and other nighttime beauty products. Then I congratulate myself on a job well done. Though I didn’t get it right the first few days, within 21 days I knew I’d managed to develop this habit when I automatically began clearing the counters after brushing. For me, coming home to a clean bathroom is the greatest reward! 3. Put away your attire after wearing it. On most days I wear two different outfits, one for work and one for exercise. If I’m not paying attention to where I put my things, a mess can quickly build up. So I decided that removing my clothes would be the cue to place dirty clothes in the hamper and those I’ll wear again neatly in the closet. If you share a closet with a partner who doesn’t want to participate in this routine, you have a couple of options: You can put your partner’s clothes away or leave them out, knowing that at least half the mess is put away. Since nagging or brooding rarely changes other people’s habits, it might be better to give yourself a reward for cleaning up your own mess and move on. Tackle Common Rooms Next As you move into the common areas of your home, prepare for potential barriers to establishing tidy habits since you may be dealing with other family members’ messes. While this can be frustrating, if family members aren’t cooperative I recommend simply focusing on clearing your own mess. Hopefully, your new habits will eventually rub off on your family. If not, well, your home will still be less cluttered than it was before your new habits. 4. Unbury coffee and end tables. Your cue for clearing the tables in your living room could be turning off the television or putting down the book you were reading. Remove cups, glasses and bowls from the room’s flat surfaces and place them in the dishwasher. Put magazines back in their rack or recycle those you’ve finished reading. Place remote controls in a basket next to the television. Put away books and papers and anything else left cluttering the room. Then congratulate yourself. Your living room will look great in the morning when you start your day. 5. Clear the kitchen counters. Mail, school papers, ear buds, cellphones, vitamins, dog treats, receipts, tissue boxes, keys and more can litter kitchen countertops, making food prep difficult. Plus, this type of miscellaneous debris makes the kitchen look messy and disorganized even if cooking surfaces are cleared. My personal cue for clearing my countertops each night is closing my dishwasher door after I load it. I then scan all the miscellany on the counters and quickly sort and put everything in its place. This may take me an extra 10 minutes, but by doing it each evening I find it is easier to keep the counters clear during the day. I then reward myself with a small piece of chocolate since this habit is much harder to implement than others! My other reward is coming downstairs in the morning to a clean kitchen. 6. Tidy your front hall. I walk through my front hallway on the way to bed and use the walk as my cue to tidy up the space. We have a hall closet where I can store shoes and coats, and each family member has a basket in the closet for personal items. If you don’t have a front hall closet, you might consider storing catchall baskets under a decorative table. I tell myself, “Great job!” before I head off to bed. It’s wonderful having a clutter-free front hall, especially when unexpected visitors stop by. Develop New Habits on What You Bring Into Your Home 7. Manage your mail. Mail is a major source of clutter in many homes. To cut down on the volume, you might want to receive bills and magazines electronically. There are also tools available for unsubscribing from catalogs and unsolicited credit card offers; visit DMAchoice.org or Catalogchoice.org for more information. Even with these steps, mail still has a way of piling up and causing a mess. One relatively easy habit to develop is sorting your mail before you enter the house. I collect my mail from the mailbox and walk directly to my recycling bin, where I immediately place advertising circulars. I then open unfamiliar envelopes (which usually are ads) and toss them in the bin. Since I receive most of my statements electronically, I’m left with very little to bring inside. Remaining items go into an inbox for incoming mail. I then give myself a pat on the back for preventing clutter from entering my house. 8. Be intentional with your purchases. Another habit to consider implementing is being mindful of your purchases. I’ve developed the habit of thinking seriously about the clutter factor of every purchase before buying. As I reach for my credit card, I am reminded to stop and consider whether I already own something that will suffice. I also think about where I’m going to store the item or what I’ll get rid of to make room for the new purchase. For example, when I’m considering a new pair of pants, I ask myself what I have in my closet that might be similar. If I already have too many similar items and don’t want to part with any I already own, I skip the new purchase. I use a similar approach when considering household and kitchen items. My purchases are always intentional because I’m working hard to live in a clutter-free home. I deserve a big pat on the back for working on this habit. I’m not only reducing clutter but I’m also leaving more money in my bank account at the end of the month to spend on things I truly want or need. 
By Dusty Rhodes March 30, 2026
When you’re selling your home , it is natural to assume that anything you can safely remove is yours to keep—like the light fixtures you painstakingly cleaned and repaired, or the appliances you bought last year. But the truth is, the buyer may want some of those items, too, and sometimes it's better to part ways with these items for the sake of the sale. Rather than keep everything, you should decide what you'd like to keep and what you'll leave behind as a way to entice buyers into making an offer, particularly in today's market where buyers are holding more of the cards than ever. What stays with the house? Generally, certain items stay with the house when you sell and move. Some features may seem obvious, but the truth is, you're probably expected to leave more behind than you think. Some of these items can include: Built-ins: Built-in bookshelves, benches, and pull-out furniture generally stay inside the home. Landscaping: Trees, shrubs, and any flowers planted in the ground should stay in the yard. Wall mounts: If you have TV wall mounts or picture mounts that might damage the wall if you remove them, it is a good idea to leave them in place when you move. Custom-fit items: If you have custom-made curtains , plantation shutters, or blinds, leave them on the windows and doors. Hardware : If you upgraded the knobs and drawer pulls in the bathrooms and kitchen, you should either leave those behind or install replacements before you move. Alarm systems : Wireless alarm systems are designed to be removed. Otherwise, leave the alarm monitoring station attached and either relocate or cancel the monitoring service. Smoke detectors : Smoke detectors and sprinkler systems should stay in the house, especially if you plan to move before selling the house. What can you take? While you’re expected to leave some items behind, in general your belongings are yours to keep. Here are some examples: Patio furniture, lawn equipment, and play sets : If you have a wooden swing set in the backyard and a bistro table on the front porch, take those items with you. Appliances : Some lenders require that a home have an oven installed before approving a loan, but for all other appliances, it's up to you to decide what you will take and what you will offer as part of the home. Some light fixtures : Generally, homeowners leave light fixtures behind, but if you’re attached to a certain fixture, you can make arrangements with the buyer to take it. Built-in kitchen tools : If you can safely remove a mounted spice rack or the pasta arm, you can take it with you. Rugs, basic curtains, wreaths : Small decor items like rugs or curtain rods that can be safely removed can be taken. What should you consider leaving? Some of your personal items can be used to help sell your house—or increase the asking price. Before you take everything just to take it, consider offering some hot items like the following: Appliances : Homeowners, especially new homeowners, don’t always have their own appliances. Many buyers would be more likely to place an offer on a home if it came fully stocked with appliances. Custom swing and play sets : If you have a swing set or playhouse your children have outgrown and you notice a potential buyer has children, offer to include the item with the deal. Kitchen built-ins : Built-in spice racks, pantry organization, and windowsill shelves can really help sell a kitchen. Consider offering the items to an interested buyer. Light fixtures, curtains, rugs, and other upgrades : If you’ve upgraded the light fixtures or have custom rugs in the entryway, a buyer may be willing to increase his or her offer to keep those items in the home.  If you’re not sure what would entice a buyer, ask your real estate agent to provide suggestions. Don't have an agent yet? Here's how to find a real estate agent in your area.