10 Home Renovation Projects Under $1,000 That Add Lasting Value
Enhancing your living space doesn’t always require a hefty budget. With the right updates, you can add real value to your home for under $1,000. Whether you’re preparing to sell your home in Grand Rapids, MI, or looking for some easy DIY projects for your house in Portland, OR, these cost-effective upgrades can breathe new life into your space.
To dig deeper into this topic, we spoke with Kevin Brasler, executive editor at nonprofit Consumers’ Checkbook, a consumer advocacy group that helps homeowners save money and make smart choices. With decades of experience evaluating service providers, Kevin shares insights on how to budget wisely, avoid common renovation mistakes, and know when to hire a professional versus taking the DIY route.
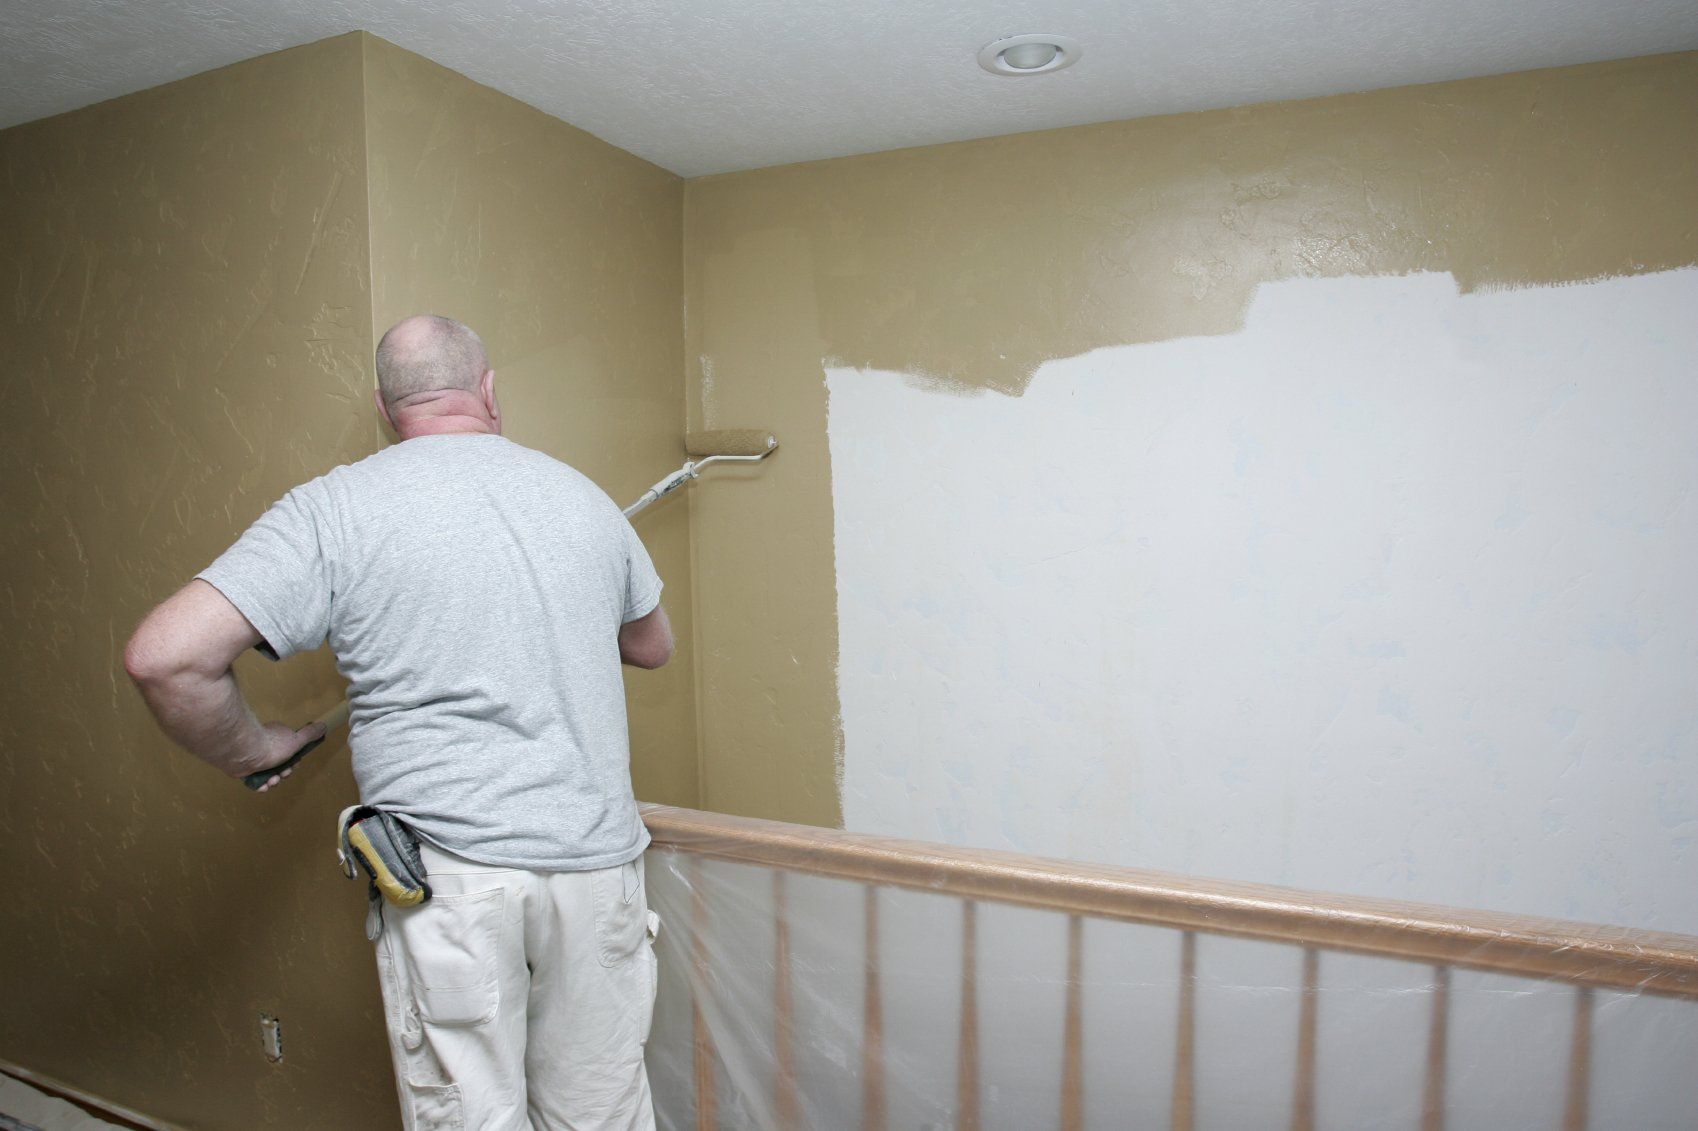
1. Add fresh paint to the walls of your home
Painting is one of the most affordable ways to refresh your home. A gallon of quality paint costs $30 to $50, with a full room averaging around $350.
Neutral shades like gray, beige, or white appeal to most buyers, while accent colors such as navy, forest green, or mustard add personality. For a calming vibe, try sage or powder blue.
Brasler notes that painting is one of the best DIY-friendly projects homeowners can take on. “Good DIY projects are those that involve mostly labor: painting, basic tile work, installing fixtures that don’t require new wiring or plumbing, landscaping, and most flooring jobs,” he says.
2. Update your cabinet hardware
A cabinet hardware update is a subtle yet effective strategy to elevate your home’s functionality and aesthetic appeal. Swapping outdated or generic cabinet handles and knobs for modern, stylish alternatives instantly transforms kitchens and bathrooms.
Consider sleek brushed nickel handles for a contemporary touch, or opt for vintage-inspired brass knobs for a timeless charm. This modest investment typically costs between $2 to $10 per piece.
3. Change the kitchen backsplash
A new backsplash can quickly refresh your kitchen while protecting your walls. A custom kitchen backsplash protects your walls from daily wear and creates a focal point that elevates the entire room.
Opt for affordable ceramic or glass tiles, which can be found for as low as $1 to $5 per square foot. Staying within a $1,000 budget for a standard-sized kitchen is doable with those materials. Or you can go for a peel-and-stick backsplash that is not only budget-friendly, but a quick solution to make your kitchen stand out.
Brasler stresses that getting multiple estimates is critical for even small-scale projects like this. “The biggest mistake homeowners make is not getting multiple bids. Even for smaller projects, you should get at least three written estimates; five is better,” he explains.
4. Switch to energy-efficient lighting
By making the switch to energy-efficient lighting, you’ll not only improve the sustainability of your home but also create a more comfortable and inviting living environment. Switching to LED bulbs, which typically cost between $2 to $10 each, saves energy and reduces utility bills over time.
Beyond the financial benefits, the crisp and vibrant illumination of energy-efficient lighting can effortlessly enhance your home’s overall mood and appeal.
5. Create a beautiful landscape
A simple landscaping update is another low-cost project that adds value. Try planting vibrant flowers, shrubs, and trees, which can cost anywhere from $100 to $500, depending on the size and variety. Add mulch or decorative stones to create a polished look for approximately $50 to $150, while adding affordable outdoor lighting options typically range from $50 to $200.
Low-maintenance features lower costs down while still making a strong impression. For most landscaping updates, DIY is both practical and cost-effective. Still, Brasler advises calling in professionals for anything involving gas, high-voltage electrical, or structural work.
6. Install a smart thermostat
A smart thermostat, such as popular models like Nest or Ecobee, typically costs between $150 to $300, depending on the brand and features. Homeowners can often handle the installation themselves, avoiding additional labor costs.
Once installed, these intelligent devices learn your preferences, allowing for automated temperature adjustments, and can be controlled remotely via smartphone apps.
7. Refurbish or paint the front door
Refresh your curb appeal by refurbishing or painting the front door – a low-cost project with instant impact. Sanding and restaining often costs under $100 and requires just a few materials.
Another choice is to use high-quality exterior paint, which typically ranges from $30 to $50 per gallon, providing a fresh, vibrant color that suits your home’s style.
8. Add floating shelves or built-ins
Consider adding floating shelves or built-in storage solutions to maximize space and keep your home organized. Floating shelves, available for as little as $20 to $50 per shelf, provide an affordable and stylish way to showcase decor or organize essentials.
For a more customized approach, DIY built-ins can be crafted using plywood or ready-to-assemble shelving units, typically ranging from $100 to $300.
9. Upgrade your kitchen sink and faucet
Breathe new life into your kitchen with a sink and faucet upgrade. Faucets usually run $100 to $300, and sinks $200 to $500.
Consider a sleek pull-down faucet and a resilient stainless steel or granite composite sink to improve both function and style. Spending $300 to $800 on a sink and faucet upgrade can instantly refresh your kitchen’s look and make daily tasks easier.
10. Add safety measures to protect your home
Smart security cameras or a basic surveillance system now offer affordable and effective protection. Investing in a home surveillance system, typically from $200 to $500, allows real-time monitoring and deterrence against potential threats.
The addition of smart cameras, with features like motion detection and remote access via smartphone apps, can improve your home’s overall safety and convenience. With a budget-conscious investment of $500 to $1,000, you can create a comprehensive security network covering critical areas of your property.
Tips for finding good contractors
Even for smaller projects, working with contractors requires careful planning. Brasler emphasizes the value of comparison shopping. “Get proposals and detailed pricing from at least three reputable, licensed contractors,” he advises. “The only way to ensure you’re paying a fair price is to initiate competition.”
He also suggests:
- Check references thoroughly. Ask questions like:
- Did the company follow plans?
- Did it finish on time? Was the work professional?
- Did the contractor offer low-cost solutions and stick to agreed prices?
- Were problems handled promptly and effectively?
- Did the team communicate clearly throughout the project?
- Was disruption to your daily life kept to a minimum?
- Did the finished results meet your expectations for quality and appearance?
- Was the contractor flexible and fair about changes if you adjusted plans?
- Ask neighbors and friends for referrals. Word-of-mouth often uncovers the best local contractors.
- Look for complaints. Check ratings at Checkbook.org or your local Better Business Bureau and be cautious with online reviews as they can’t always be trusted.
Common mistakes when budgeting for small renovations
Brasler states the biggest budgeting mistake is skipping multiple bids. “A contractor charging $800 might be using premium materials while the $500 bid uses builder-grade stuff. Try to get prices from each business for the exact same work,” he explains.
He also reminds homeowners not to assume that a low price means low quality. “For decades we have evaluated all kinds of businesses and often find some of the best companies have the lowest prices,” he says.
When to DIY vs. hire a pro
While DIY saves money, Brasler stresses knowing your limits. “Call in pros to deal with anything involving gas, high-voltage electrical, or structural changes. Ditto for work that requires a permit and inspection,” he advises.
For tasks like painting, basic landscaping, or adding shelves, homeowners can usually manage on their own. Keep expectations realistic since DIY projects often take longer and may not match professional results.
The bottom line
Budget-friendly renovations under $1,000 can make a big difference in your home’s look, comfort, and value. From painting and landscaping to updating fixtures and adding smart technology, these projects prove you don’t need to overspend to refresh your space.
As Brasler reminds homeowners, “the key is balancing creativity with caution.” By comparing bids, avoiding common budgeting mistakes, and knowing when to call in the pros, you can achieve lasting results without stretching your wallet.
Source:
Redfin
Dusty Rhodes Properties is the Best Realtor in Myrtle Beach! We do everything in our power to help you find the home of your dreams. With experience, expertise, and passion, we are the perfect partner for you in Myrtle Beach, South Carolina. We love what we do and it shows. With more than 22 years of experience in the field, we know our industry like the back of our hands. There’s no challenge too big or too small, and we dedicate our utmost energy to every project we take on. We search thousands of the active and new listings from Aynor, Carolina Forest, Conway, Garden City Beach, Longs, Loris, Murrells Inlet, Myrtle Beach, North Myrtle Beach, Pawleys Island, and Surfside Beach real estate listings to find the hottest deals just for you!
Share